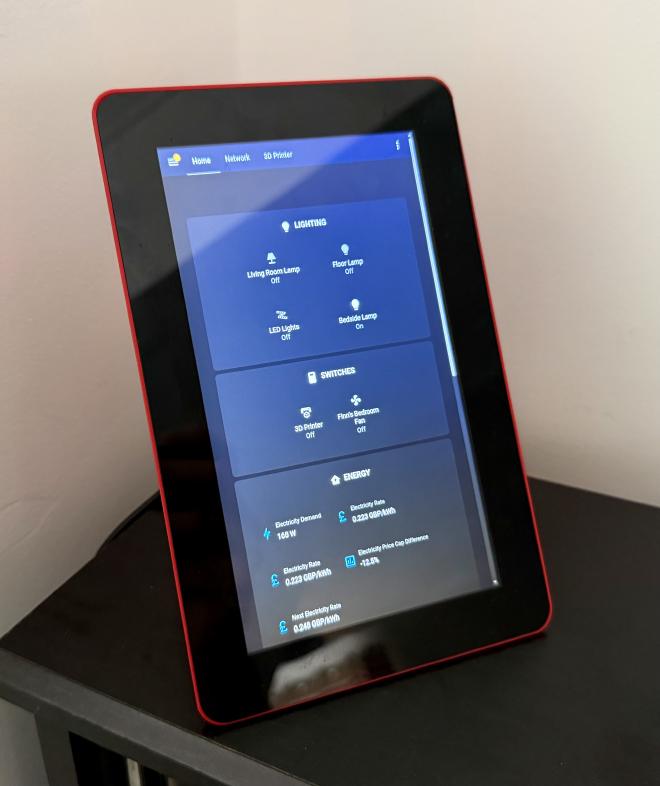
Home Assistant Display with the Raspberry Pi 4 and Touch Display 2
Table of Contents

I’ve finally set up my Raspberry Pi 4 and Touch Display 2 as a Home Assistant display in a way that I’m happy with, so I wanted to post it here in case anyone wants to do the same.
Parts used #
- Raspberry Pi 4 8GB
- Possibly a bit overkill for this - a Pi 3 with less RAM would do, but this is a spare Pi I had lying around.
- Raspberry Pi Touch Display 2 7"
- The 5" variant should work the same but will be a bit more cramped.
- Raspberry Pi USB-C power adapter
- 3D printed frame
- I originally used a wall-mounted frame that I designed myself, which is available on Printables, but I’ve moved onto this design by matemaciak on Printables as I can put it wherever I want.
Setup #
OS wise, I am using the latest version of Raspberry Pi OS, which works out of the box with the Touch Display 2.
I am using Wayland for the window system as it has much better touchscreen
support in my experience - you can set this in Pi OS by using the
sudo raspi-config command.
The first thing to do, assuming a clean Pi OS install, is to ensure the Pi can connect to your network. Once this is done, open Chromium and log into your Home Assistant instance. You may want to set up separate credentials for the Pi (I have so that the Pi display has fewer permissions to help reduce the risk of tampering).
Auto-starting #
Pi OS with Wayland uses labwc for its compositor, which has an autostart
function when the desktop has initialised.
Put the following in the ~/.config/labwc/autostart file, which might need to
be created:
/usr/bin/swayidle -w \
        timeout 300 'wlopm --off \*' \
        resume 'wlopm --on \*' &
/usr/bin/chromium \
        --device-scale-factor=1.25 \
        --enable-auto-reload \
        --force-dark-mode \
        --kiosk \
        --password-store=basic \
        --pull-to-refresh=1 \
        http://192.168.68.73:8123 &
- The top part starts
swayidleto monitor when the display is idle (no user interaction) and runswlopm --offafter 300 seconds (5 minutes) to turn off the display. As soon as user interaction is detected,swayidlecallswlopm --onto turn the display back on.- To leave the display on all of the time, you can remove this.
- The bottom part starts Chromium with the following command-line switches
(thanks to Peter Beverloo’s guide):
--device-scale-factor=1.25sets the scaling factor to 1.25 to make the text slightly larger.--enable-auto-reloadenables auto-reload if an error occurs on the webpage.--force-dark-modeforces Chromium to run in dark mode.--kioskruns Chromium in kiosk mode (hiding the toolbars and keeping it in full screen).--password-store=basicuses the basic password store - I added this as otherwise, I got a nag screen every time I started Chromium asking for the wallet password.--pull-to-refresh=1enables pull down to refresh, which is useful in kiosk mode.- Finally,
http://192.168.68.73:8123is the IP address of my Home Assistant instance on my local network.
Conclusion #
I hope this helps if anyone is looking to do this themselves. I’m not sure it’s the easiest way to do this (maybe using a used Android tablet or iPad might be a more seamless experience), but it should work well.